The Floating Shelf.
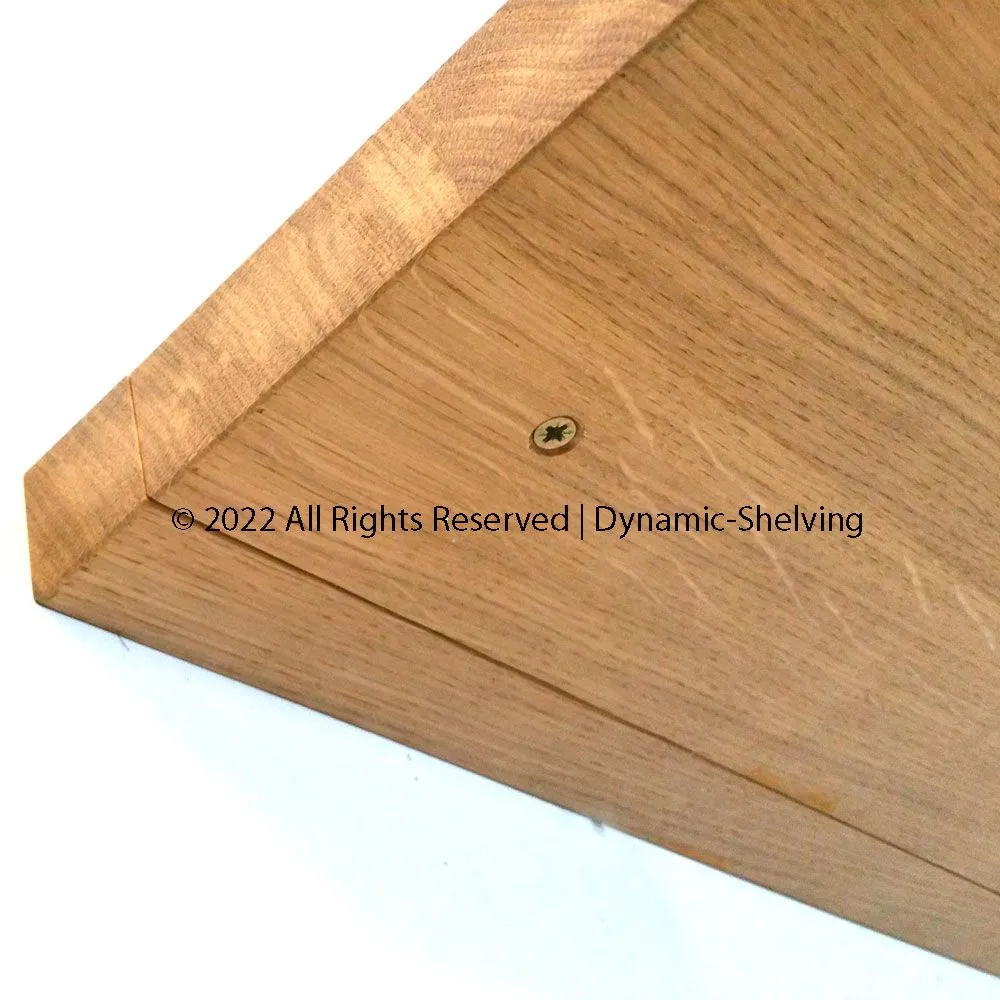
The shelf is made from one piece of timber so the grain and colour matches perfectly. Once sanding and colouring is completed we cut 35mm off the back edge to form the bracket bar.
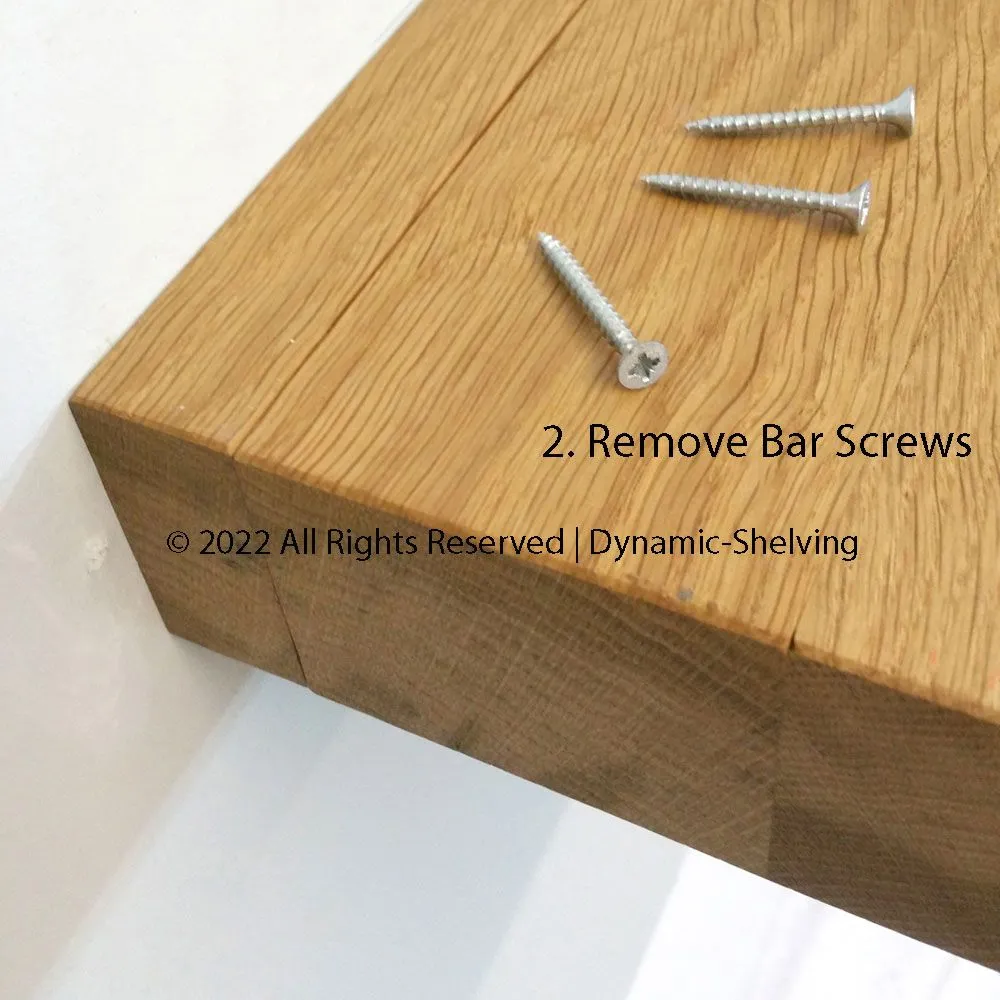
The Bracket Bar.
Dowels are then machined into the back bar. Corresponding holes are then machined into the front section. These holes will be used to fix the batten to the wall.
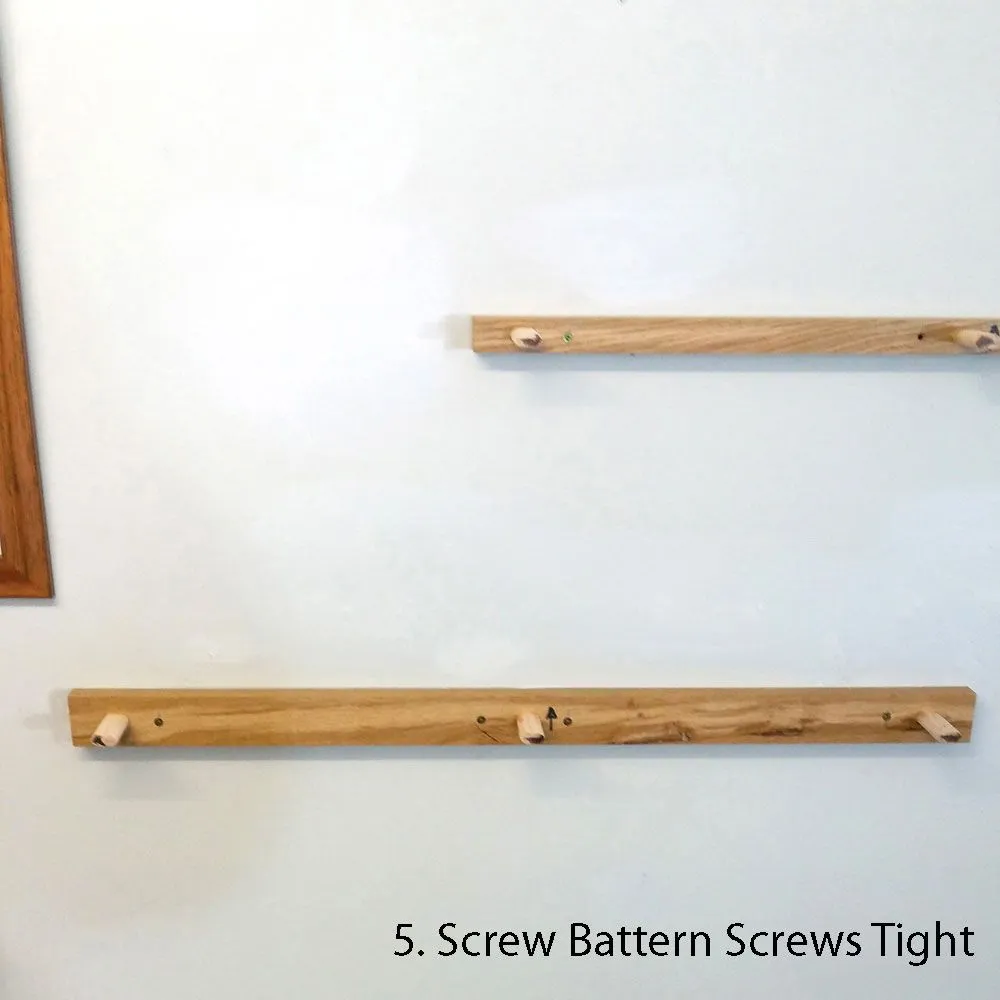
Fixing the Bracket Bar.
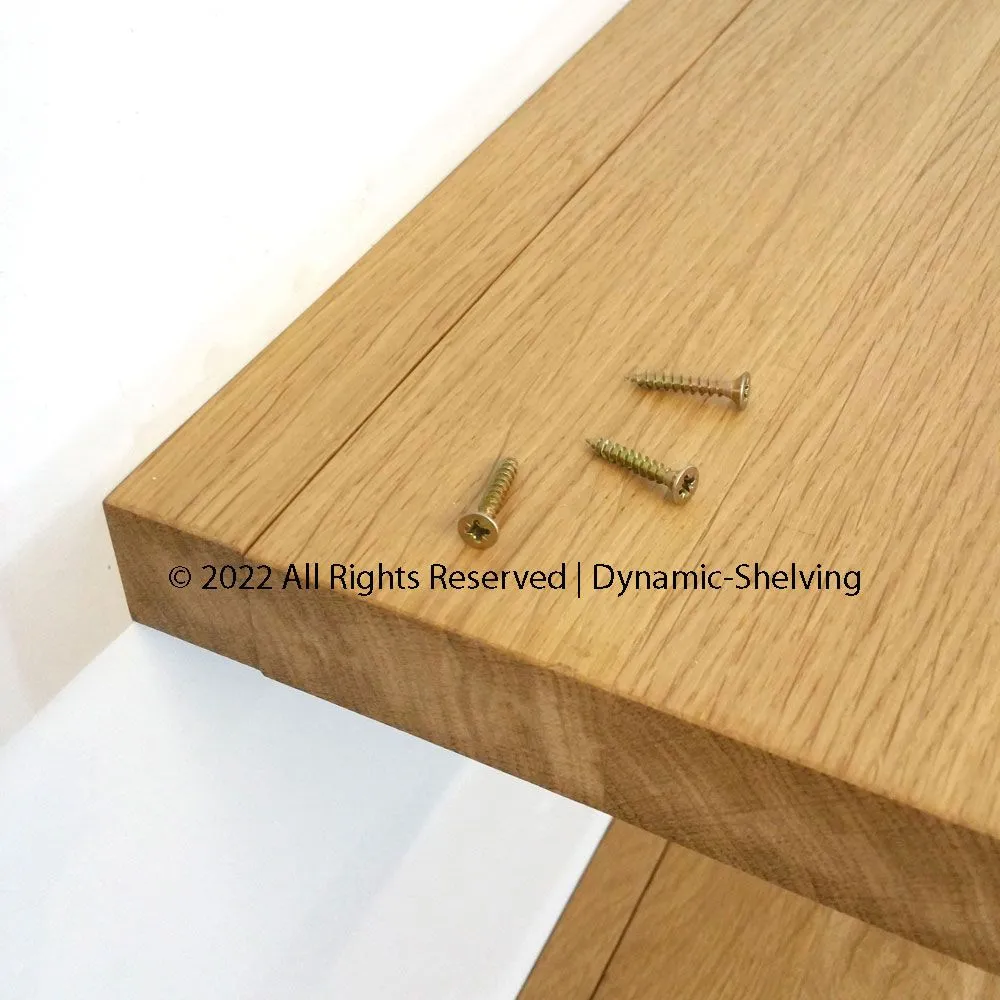
Put the battern screws into the battern holes and then with a level resting on top of the shelf, position and mark the wall by gently tapping the screws with a hammer.
2. Drill holes with a 7mm masonary drill bit to a depth of 50mmn. Be sure to keep the drill level at all times. Insert the plugs tapping in level with the wall.
3. If you find the wall is not flat you may have to use packing pieces behind the bar.
4. Screw all screws throught the bar ensuring a tight fit. DO NOT USE A POWER SCREWDRIVER as this might strip the thread in the plug.
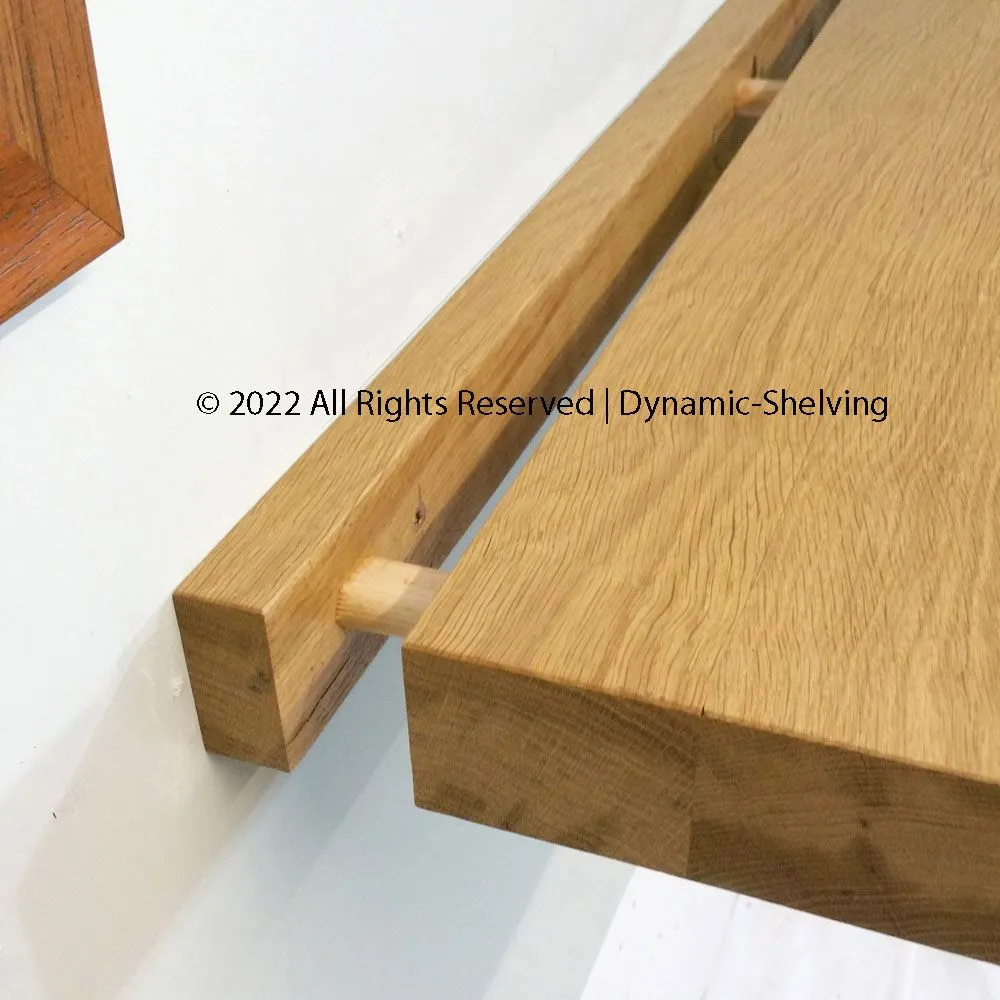
Assembling the Floating Shelf.